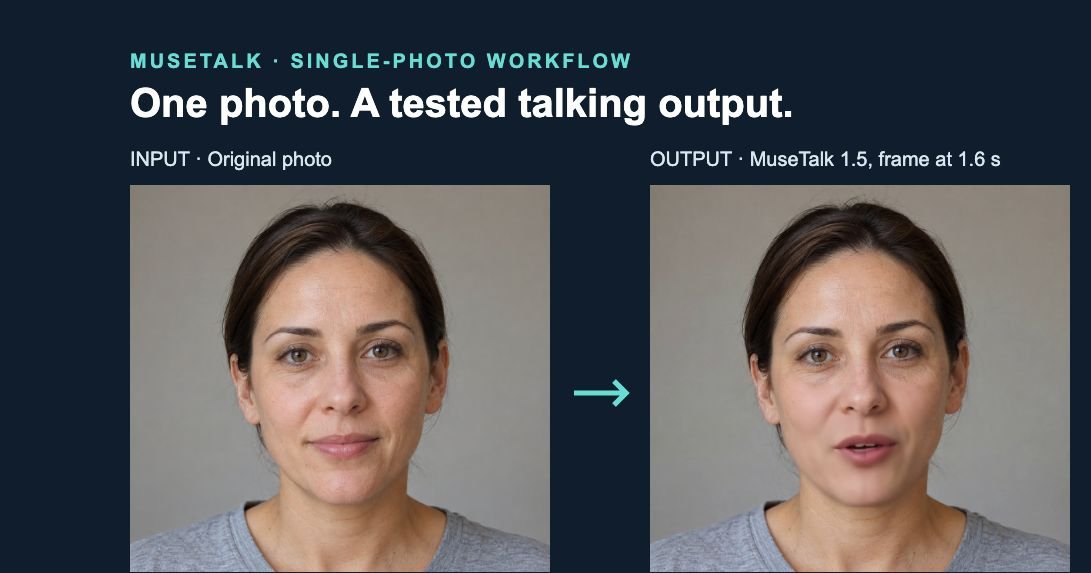
Tested 12 October 2026: one permitted fictional portrait and a 3.632-second synthetic speech clip. MuseTalk 1.0 and 1.5 both accepted the PNG directly. All 15 saved MP4s passed full decoding: 1254 × 1254, 25 fps, 90 frames, H.264 video and AAC audio.
Browse the MuseTalk examples gallery for five retained outputs, playable clips, permitted inputs, exact settings and honest limitations.
Get the photo workflow kit · Explore the quality-test evidence · View measured results (CSV)
1. Prepare the photo and audio
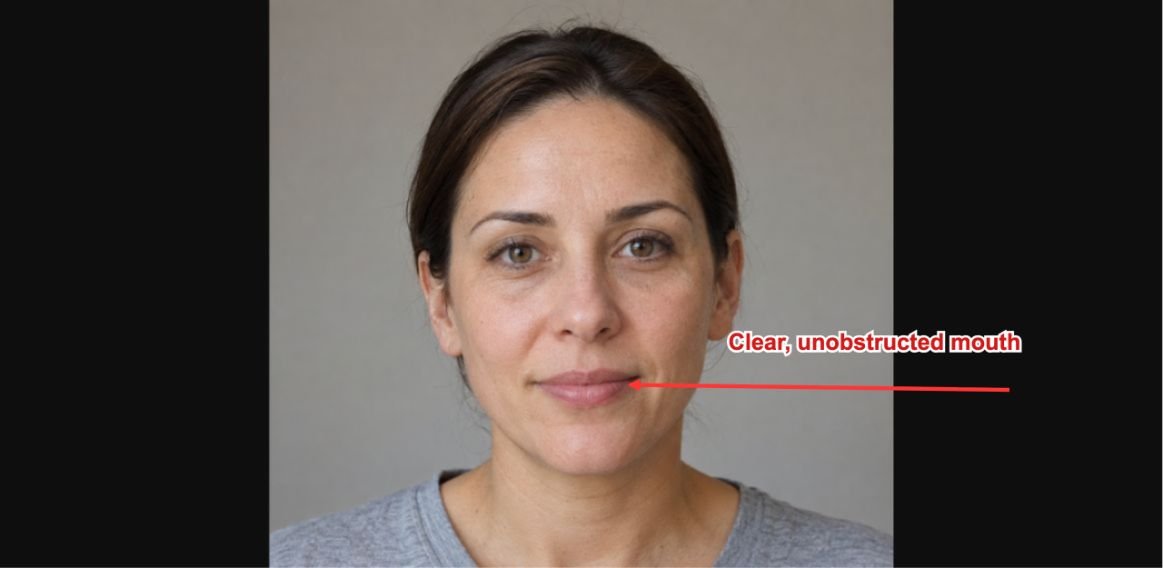
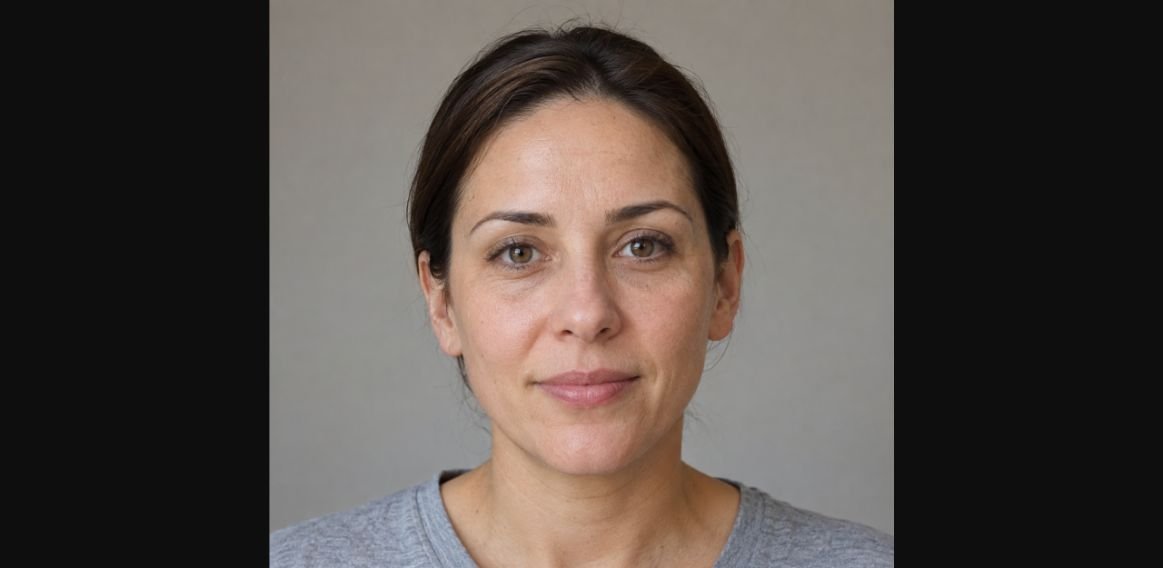
Use a sharp, front-facing image with an unobstructed mouth and even lighting. Our original 1254 × 1254 PNG was retained without resizing. Audio was mono WAV at 16 kHz: “Please bring me a blue mug. We can meet on Friday.” Use assets you have permission to process.
2. Point the configuration at the PNG
Install the official MuseTalk repository and required model weights. These files contain inputs and evidence, not model weights. Replace the absolute paths below with your own paths.
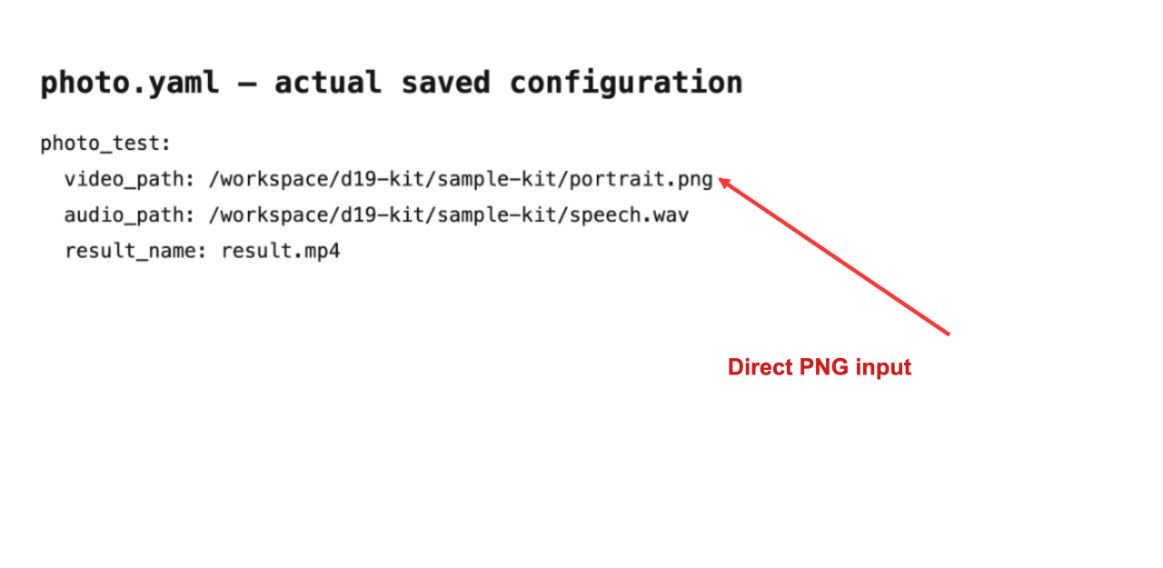
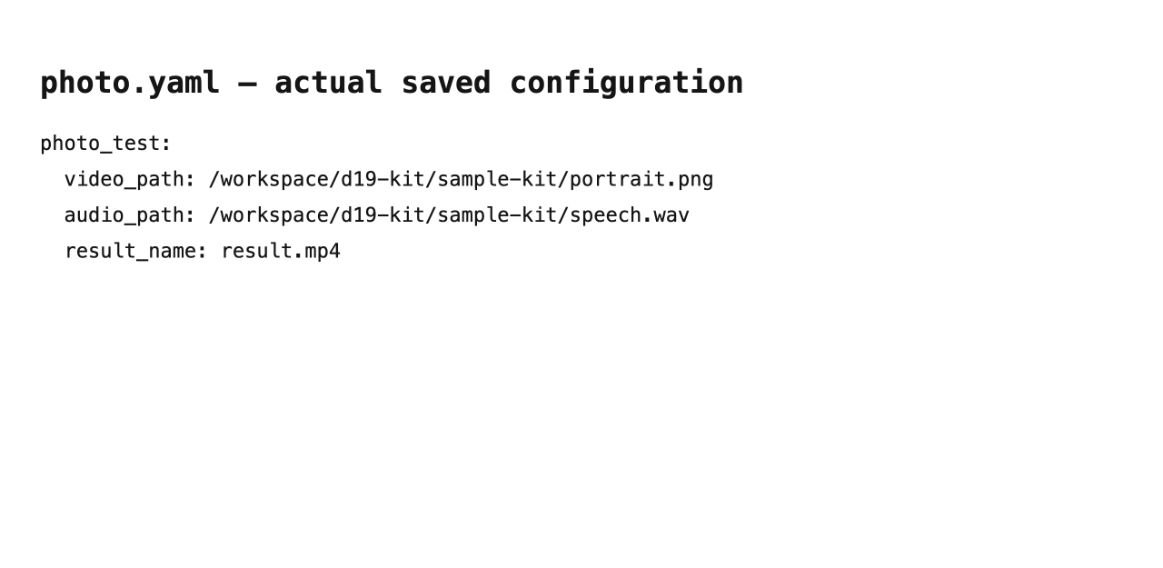
photo_test:
  video_path: /workspace/d19-kit/sample-kit/portrait.png
  audio_path: /workspace/d19-kit/sample-kit/speech.wav
  result_name: result.mp4
The input key is named video_path, but the pinned inference script accepts an image file. No preliminary photo-to-video conversion was used.
3. Run the selected version
From the installed MuseTalk repository, run the command below using its configured Python environment. It reproduces the 1.5 settings; the included wrapper and recorded commands preserve the test seed and numerical controls.
python -m scripts.inference --inference_config photo.yaml --result_dir results/photo --version v15 --unet_model_path models/musetalkV15/unet.pth --unet_config models/musetalkV15/musetalk.json --use_float16 --batch_size 2 --fps 25 --bbox_shift 0 --extra_margin 10 --parsing_mode jaw --left_cheek_width 90 --right_cheek_width 90For 1.0, use --version v1, models/musetalk/pytorch_model.bin and models/musetalk/musetalk.json. Its effective blending mode is raw; its crop control is bbox_shift. Set --ffmpeg_path when FFmpeg is outside PATH.
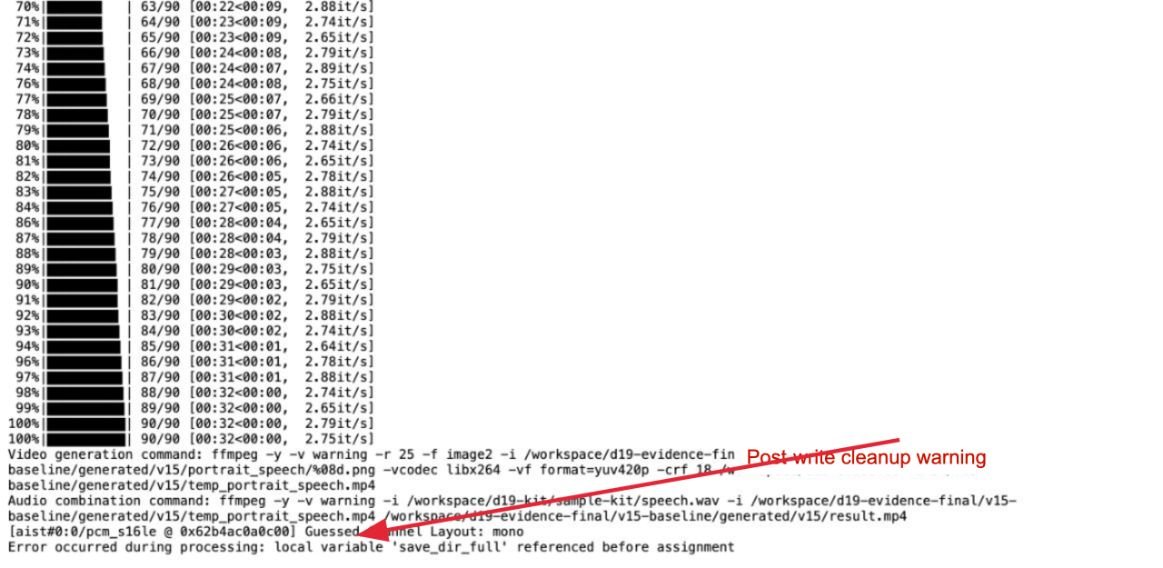
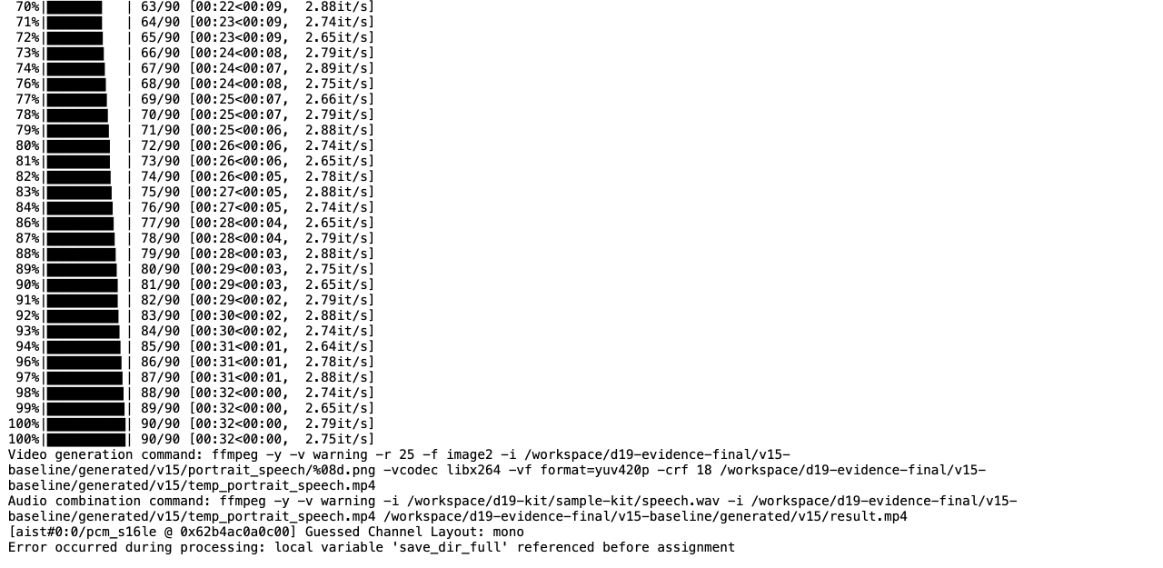
Observed warning: every direct-photo run logged local variable 'save_dir_full' referenced before assignment after writing the final MP4. The stock script refers to a cleanup variable initialized only in its video branch. These outputs existed and decoded completely; do not treat the process exit code alone as proof of success. Upstream source was retained unchanged.
4. Check the native output
Watch the baseline video (MP4) · View native frame 40 (PNG)
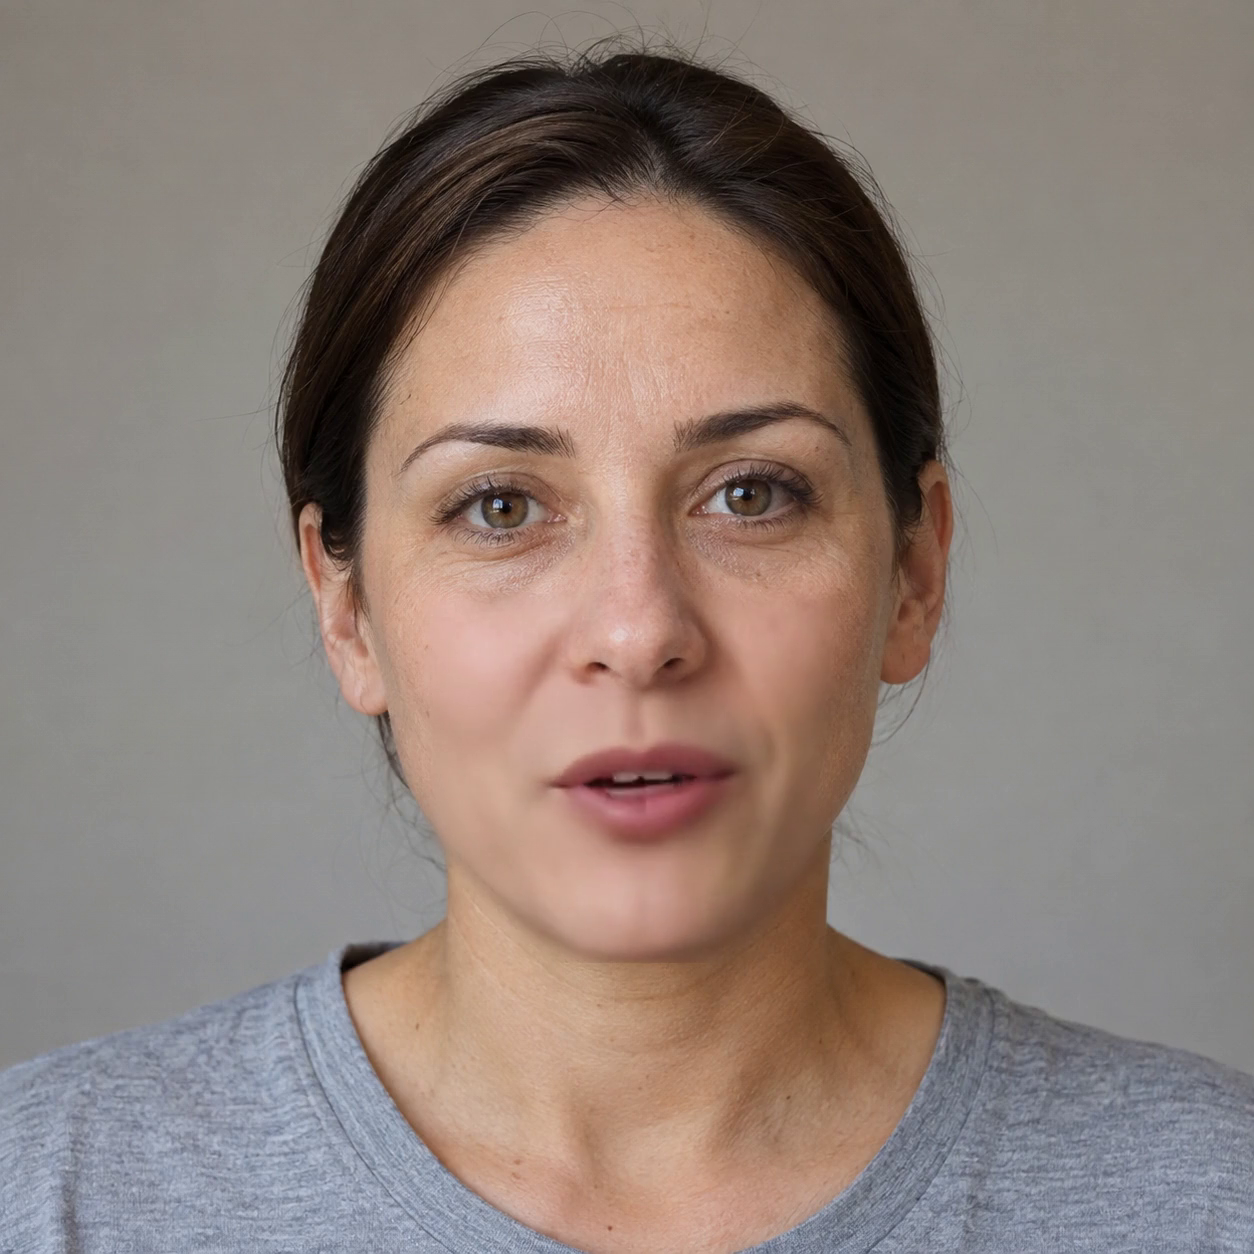
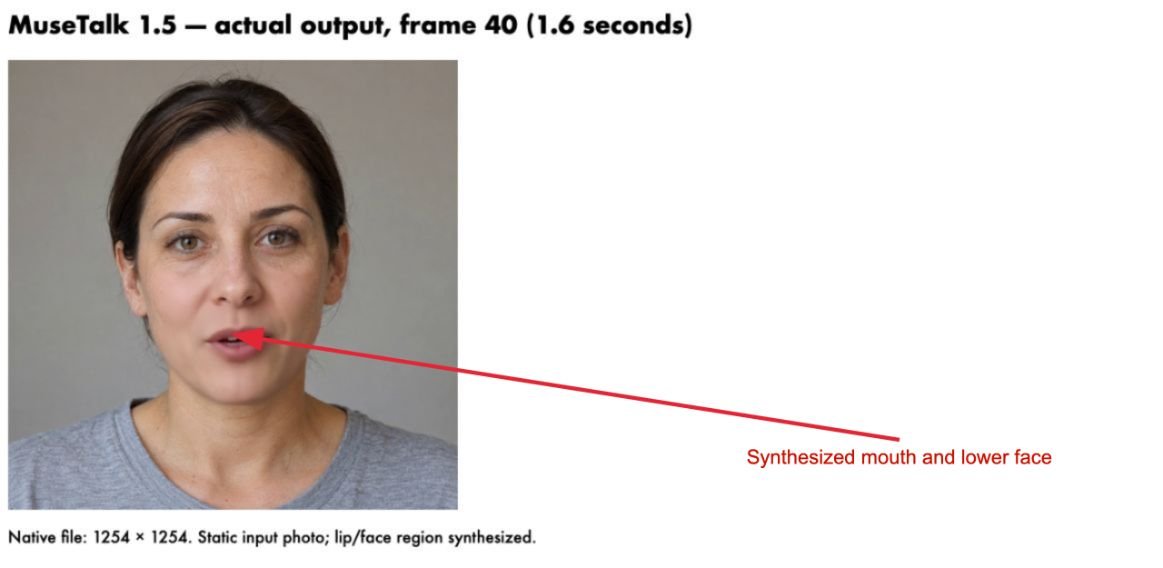
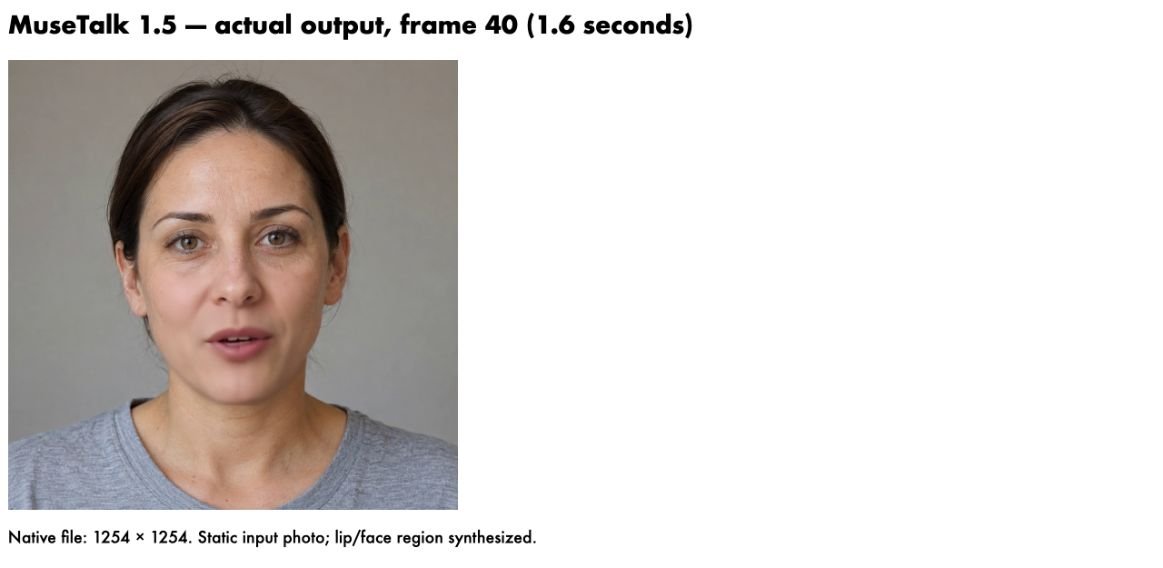
Static-head limitation: the input photo is reused as the base frame. This workflow does not generate natural head turns or blinks. Mouth, lower-face and cheek pixels can change through synthesis and blending. Face synthesis uses a 256 × 256 crop; a 1254 × 1254 output canvas does not restore original facial detail.
5. Compare supported quality controls
Each variant changed one command-line setting from its version baseline. Constants: same original PNG/WAV, seed 20261012, batch size 2, 25 fps and FP16 unless the FP32 row says otherwise.
| Control | MuseTalk 1.0 | MuseTalk 1.5 | Tested values / implication |
|---|---|---|---|
| bbox_shift | Supported crop adjustment | Forced to 0 by source | 1.0: −10 / 0 / +10; 1.5: requested +20 as ignored-control check |
| extra_margin | Ignored | Supported lower-crop extension | 1.5: 0 / 10 / 20 source-image pixels; 1.0: requested 20 as ignored-control check |
| parsing_mode | Effective raw; CLI mode ignored | jaw / raw / neck | All three modes tested on 1.5; changes blending coverage |
| Cheek widths | CLI values ignored | Used by jaw blending mask | 1.5: 90/90 baseline, 60/90, 90/60; mask uses 512-pixel parser space |
| Precision | FP16 tested | FP16 and FP32 tested | FP32 removes –use_float16. Pixel differences do not establish better quality |
Support is verified against the pinned inference source and face parser. These are tested values, not recommended ranges for every portrait.
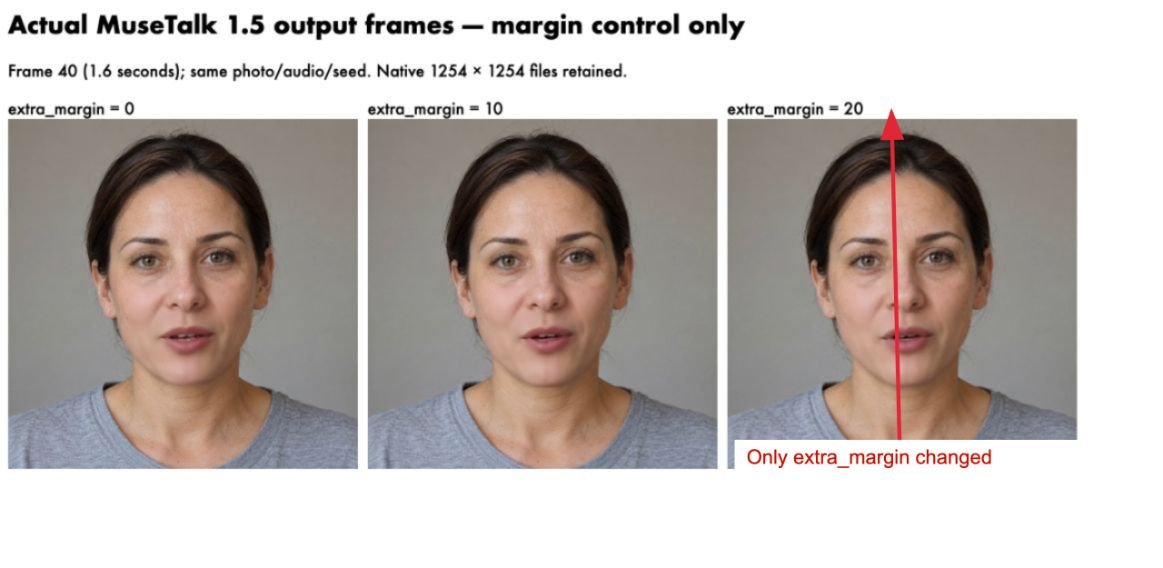
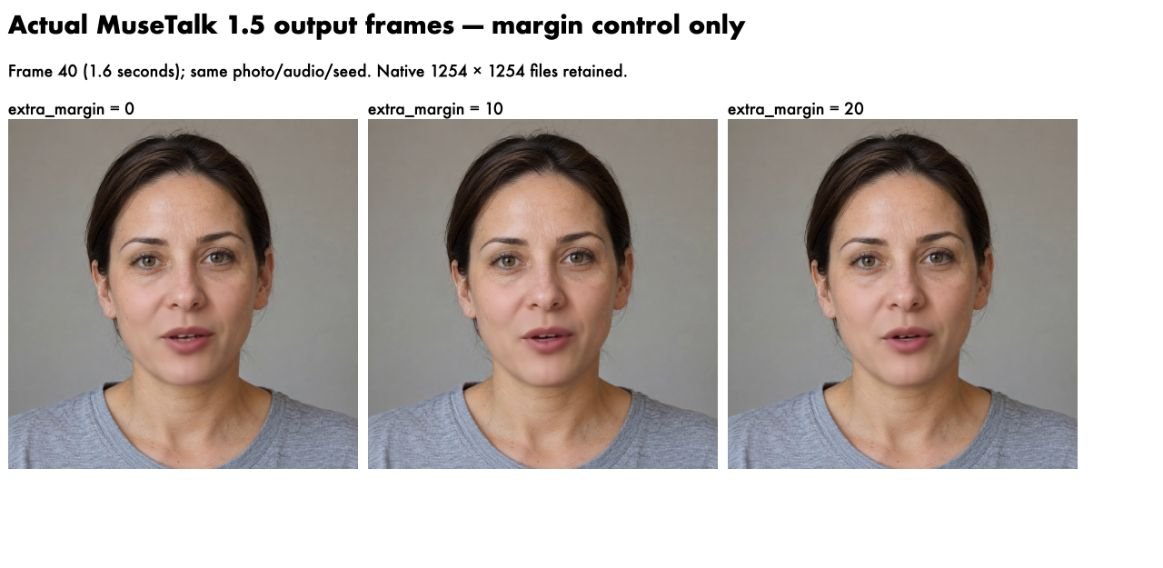
Numerical limits: the 1.5 baseline/repeat pair matched all 90 pre-encoding frame hashes. The 1.0 repeat differed, and the 1.5 ignored-bbox check also differed despite the source ignoring that parameter. Consequently, small pixel differences cannot all be attributed to the requested setting. The 1.0 matrix stopped at its repeatability gate; its remaining three controls were run separately under the same conditions and are included. No quality winner is inferred.
The table below measures mean absolute RGB difference at frame 40 on a 0–255 scale, averaged across the full canvas against the same-version baseline. It measures pixel change, not lip-sync accuracy, visual quality or perceived realism. A large unchanged background dilutes this measure.
| Run | Changed setting | Process seconds | Frame-40 RGB difference |
|---|---|---|---|
| v15-baseline | {} | 63.96 | 0.0000 |
| v15-repeat | {} | 66.13 | 0.0000 |
| v15-margin-0 | {“extra_margin”: 0} | 51.90 | 0.7090 |
| v15-margin-20 | {“extra_margin”: 20} | 67.76 | 0.6715 |
| v15-raw | {“parsing_mode”: “raw”} | 60.20 | 0.6428 |
| v15-neck | {“parsing_mode”: “neck”} | 67.94 | 0.7062 |
| v15-left-60 | {“left_cheek_width”: 60} | 51.85 | 0.5727 |
| v15-right-60 | {“right_cheek_width”: 60} | 68.06 | 0.5696 |
| v15-bbox-ignored | {“bbox_shift”: 20} | 52.08 | 0.5576 |
| v15-fp32 | {“precision”: “fp32”} | 55.18 | 0.5593 |
| v1-baseline | {} | 50.90 | 0.0000 |
| v1-repeat | {} | 51.86 | 0.5648 |
| v1-bbox-minus-10 | {“bbox_shift”: -10} | 58.51 | 0.6643 |
| v1-bbox-plus-10 | {“bbox_shift”: 10} | 55.66 | 0.6707 |
| v1-margin-ignored | {“extra_margin”: 20} | 51.62 | 0.5636 |
Each timing is a fresh-process wall time including model loading, preprocessing, inference and encoding. Runs share an RTX 4090 host with the template service; these are diagnostic timings, not a throughput benchmark. One portrait and one short sentence cannot establish general quality.
Optional motion pipeline
If head motion or blinks are required, create a driving video with a separate portrait-animation pipeline, then use that video as MuseTalk input. That adds motion-model setup, dependencies and a second generation stage. It was not tested here and is not required for the direct PNG workflow.
Reproduction record
Official commit: 0a89dec45a0192b824e3cf4daf96c239440c5ed8. MuseTalk model repository revision: 2bcb936e2fddb4d86db4c62fd45b387d0c061571. RTX 4090, Python 3.10.18, Torch 2.0.1+cu118, CUDA 11.8. The evidence archive includes environment/package records, model hashes, per-run commands and warnings. Native inputs, clips and output frames are preserved. Screenshots are real browser captures of saved files and output viewers; separate arrow copies retain the raw originals.
4 thoughts on “MuseTalk Single-Photo Tutorial: Tested Workflow and Quality Controls”