Updated and tested: . This guide walks through a fresh MuseTalk 1.5 command-line run on a Linux RTX 4090. Download the same inputs, configuration and environment record, then follow the checkpoints below.
Browse the MuseTalk examples gallery for five retained outputs, playable clips, permitted inputs, exact settings and honest limitations.
The result: a first working video lip-sync example
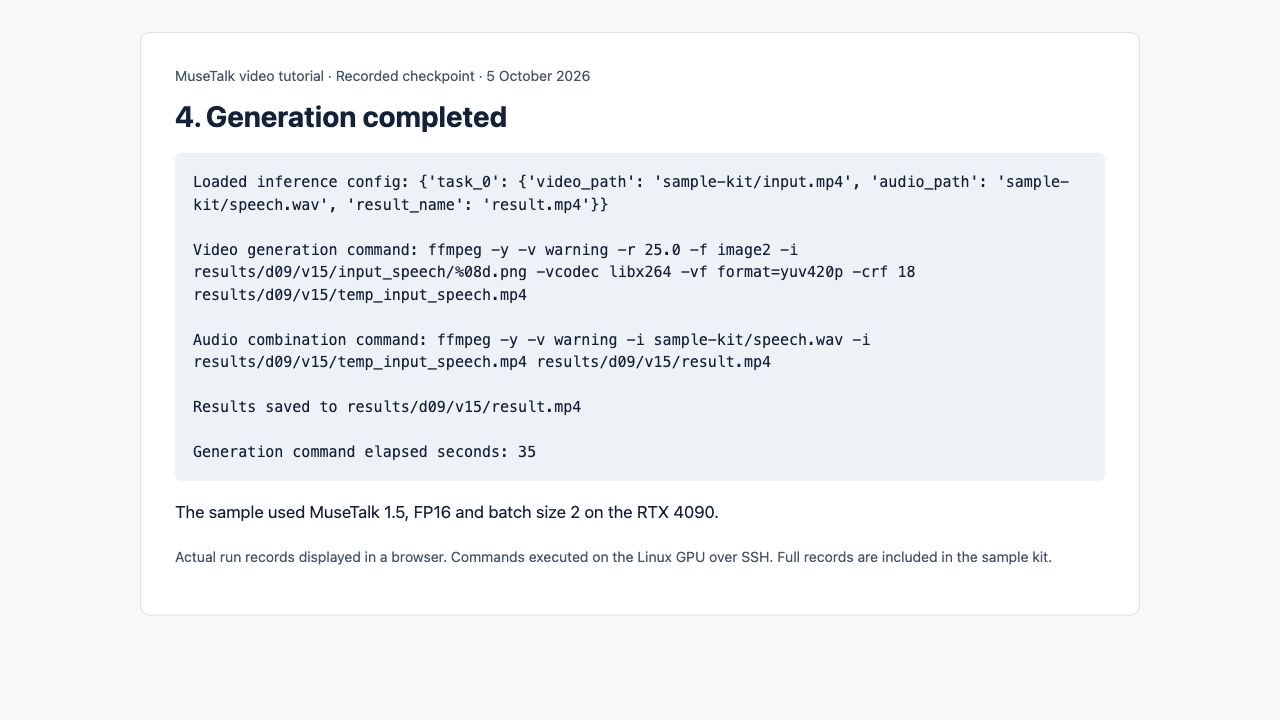
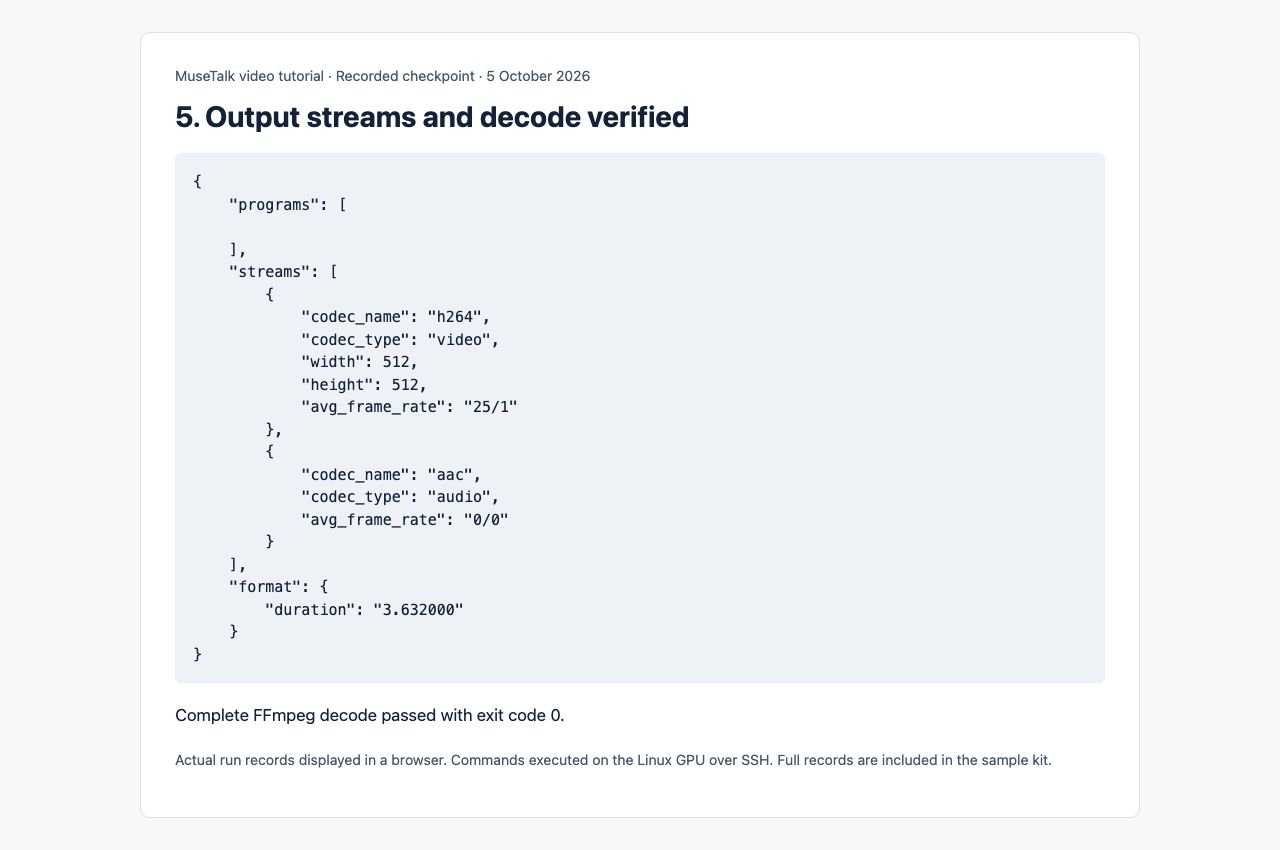
This MP4 was generated in the recorded test. It contains H.264 video and AAC audio, lasts approximately 3.63 seconds, and passed a full FFmpeg decode. The generation command took 35 seconds on this instance, including model loading and processing. Installation and model downloads are excluded. This is one test result, not a speed guarantee.
The input is a fictional portrait held still in an MP4. MuseTalk generates mouth movement from the supplied speech; it does not create natural head motion from this stationary input. This sample demonstrates the pipeline and is not a moving-speaker quality benchmark.
Get the shared MuseTalk sample kit
Get the tested sample kit (ZIP). It includes the input MP4, mono WAV, portrait, transcript, YAML configuration, output MP4, setup and run scripts, environment manifest, dependency lock, model-verification record, run log and SHA-256 checksums. Model weights are downloaded separately by setup.
Get the input MP4 · Download the speech WAV · Here’s the generated result. The ZIP provides the configuration and supporting records.
The sample portrait is project-generated and fictional. Speech was generated with eSpeak NG, not cloned from a person. These example media may be reused for this tutorial and tests; dependency and model licenses remain separate. When replacing the sample, use media you own or have permission to process and publish.
Step 1: Prepare the Linux GPU environment
For this tested route, use Linux x86_64, an NVIDIA GPU and root access inside your GPU container, with at least 25 GiB free for setup. Extract the ZIP so its scripts are directly under /workspace/d09-kit. Run setup in the machine’s Bash terminal:
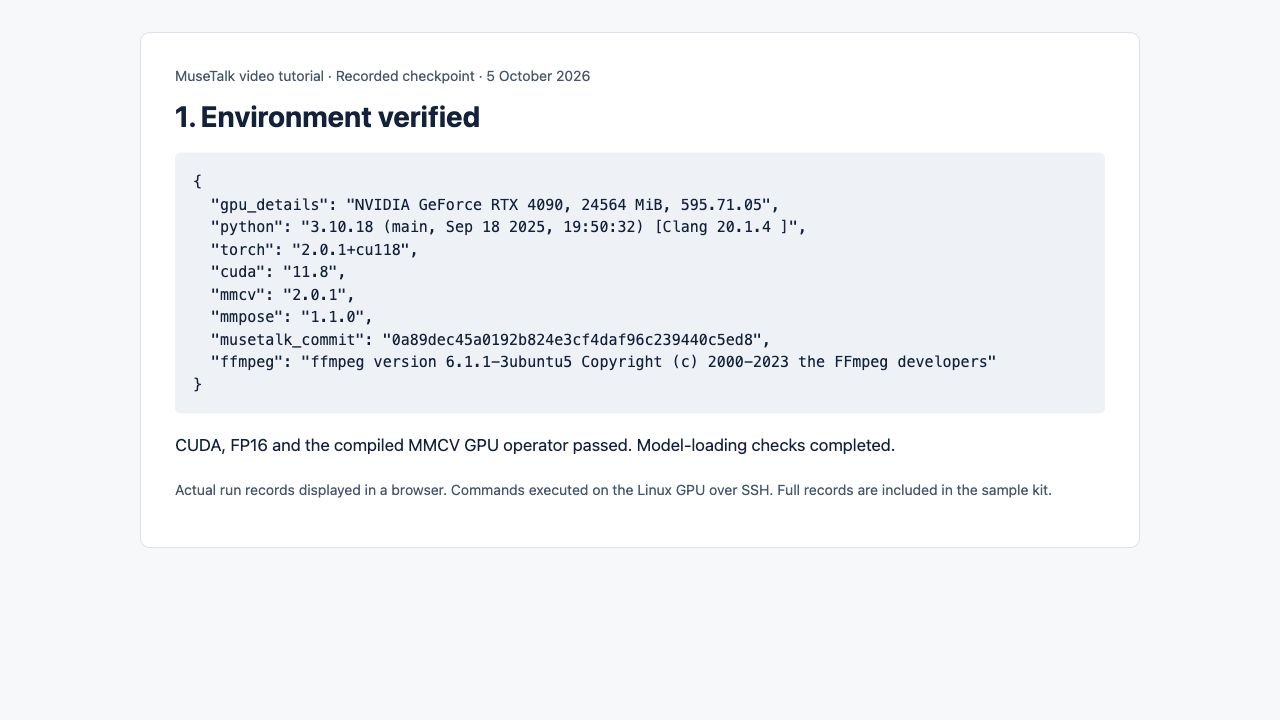
MUSETALK_BASE=/workspace/d09-runtime bash /workspace/d09-kit/setup-cli.shSetup creates a separate Python environment, installs the pinned dependencies and downloads the official MuseTalk code and models. It leaves the existing ComfyUI Python environment intact. Stop on an error. Continue only after CUDA, FP16, the MMCV GPU operator and model-loading checks pass. If you already have a compatible installation, compare it with the manifest and use its Python executable instead.
| Check | Recorded result |
|---|---|
| GPU | NVIDIA GeForce RTX 4090, 24564 MiB, 595.71.05 |
| Python | 3.10.18 |
| PyTorch / bundled CUDA | 2.0.1+cu118 / 11.8 |
| MMCV / MMPose | 2.0.1 / 1.1.0 |
| MuseTalk commit | 0a89dec45a0192b824e3cf4daf96c239440c5ed8 |
| FFmpeg | ffmpeg version 6.1.1-3ubuntu5 Copyright (c) 2000-2023 the FFmpeg developers |
For another setup route, see the Linux installation guide, Windows guide or Colab notebook. The downloadable setup script here was tested on Linux, not Windows.
Step 2: Prepare and check the sample inputs
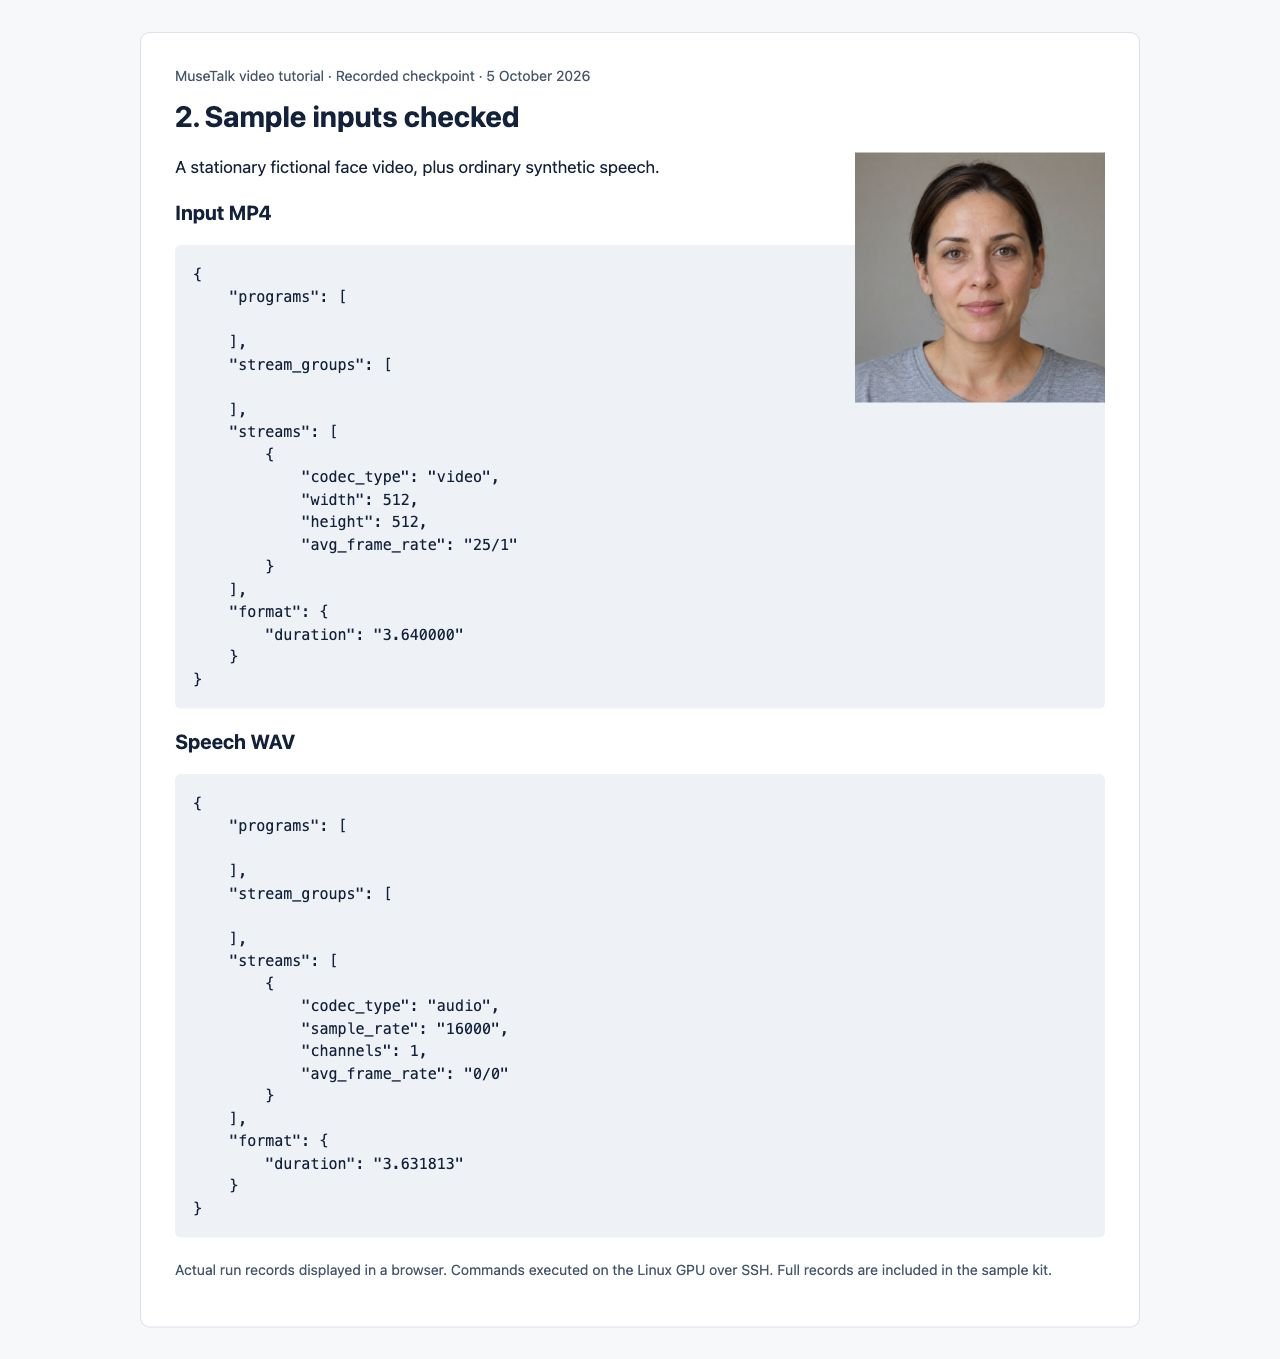
Copy the ZIP’s sample-kit directory into the MuseTalk repository root. The provided MP4 is silent, 512 × 512 and 25 FPS. The speech WAV is mono 16 kHz PCM. Both are short so a first test finishes quickly.
Speech transcript: “Please bring me a blue mug. We can meet on Friday.”
cd /workspace/d09-runtime/MuseTalk
ffprobe -v error -show_entries stream=codec_type,width,height,avg_frame_rate:format=duration -of json sample-kit/input.mp4
ffprobe -v error -show_entries stream=codec_type,sample_rate,channels:format=duration -of json sample-kit/speech.wav
Expected: the video reports 512 × 512 and 25/1 FPS. Audio reports 16000 Hz and one channel. To reproduce the included inputs from the portrait and transcript, use the preparation commands in run-sample.sh.
For your own clips, keep one clear face visible throughout, avoid an obscured mouth, and begin with a short clip. Use the FFmpeg guide for frame-rate conversion and audio checks. A frame-rate conversion drops or repeats frames; it does not guarantee better lip sync.
Step 3: Use the tested configuration
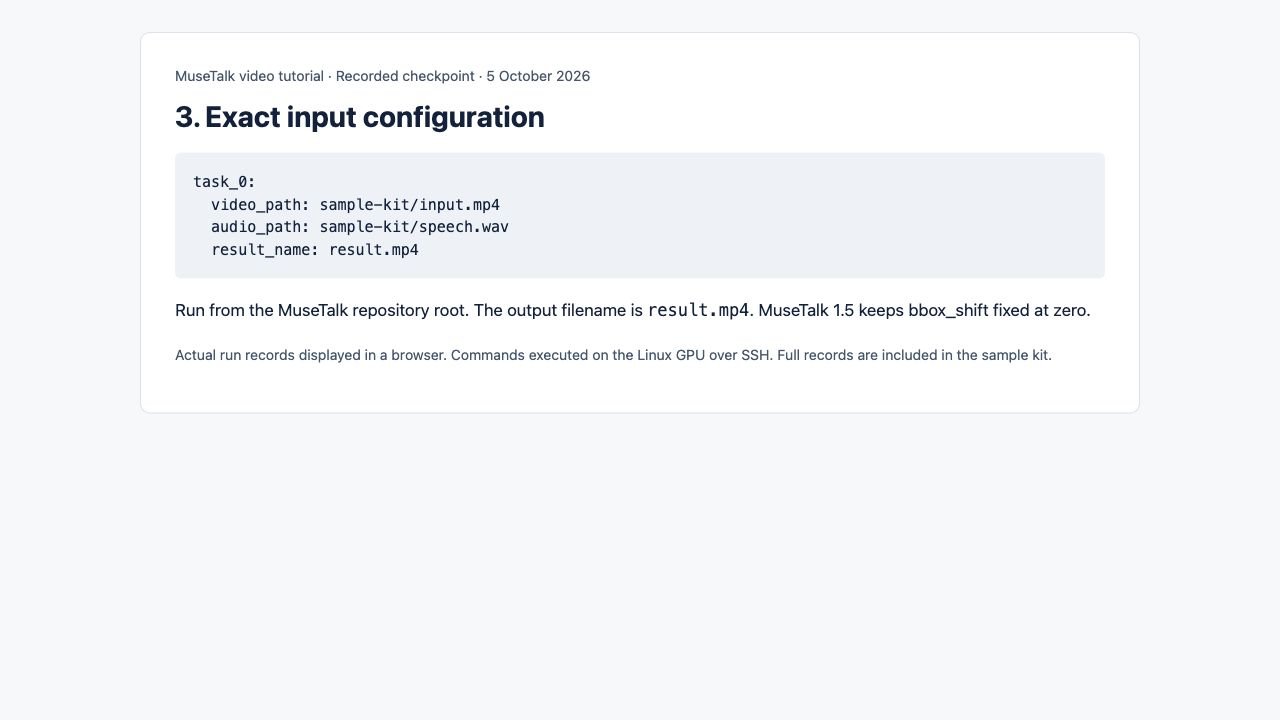
task_0:
  video_path: sample-kit/input.mp4
  audio_path: sample-kit/speech.wav
  result_name: result.mp4
Save this as sample-kit/sample.yaml. Run from the repository root so relative paths resolve correctly. result_name sets the output filename. Use forward slashes in this Linux YAML file.
Step 4: Generate the clip
/workspace/d09-runtime/muse-env/bin/python -m scripts.inference --inference_config sample-kit/sample.yaml --result_dir results/d09 --unet_model_path models/musetalkV15/unet.pth --unet_config models/musetalkV15/musetalk.json --whisper_dir models/whisper --version v15 --batch_size 2 --use_float16 --ffmpeg_path /usr/binThis is the command executed in the test. It uses MuseTalk 1.5, batch size 2 and FP16. --ffmpeg_path is the directory containing the executable. Check command -v ffmpeg if yours differs. Wait for processing and audio muxing to finish. The expected output is results/d09/v15/result.mp4.
To repeat the complete preparation, generation and verification sequence in one script, run bash /workspace/d09-kit/run-sample.sh. It recreates the sample inputs, runs the same command and writes results/d09/logs/tutorial-run.log. The script uses the tested directory layout above.
Step 5: Verify the MP4 and watch the full result
test -s results/d09/v15/result.mp4
ffprobe -v error -show_entries stream=codec_type,codec_name,width,height,avg_frame_rate:format=duration -of json results/d09/v15/result.mp4
ffmpeg -v error -i results/d09/v15/result.mp4 -f null -
Require both video and audio streams. A complete decode must exit 0 without errors. The upstream script catches some processing errors, so a successful command exit alone is not proof that a valid video was produced. Play the whole clip with sound and look for sensible mouth movement, face seams, jitter and timing problems.
Settings and fixes that matter for this version
MuseTalk 1.5: the pinned inference implementation fixes bbox_shift at zero. Do not expect changing the YAML value to tune this 1.5 run. Guidance for adjustable bbox shifts belongs to the older implementation. FP16 is the tested choice here; turning it off is not a guaranteed quality improvement.
No output or no sound: read the first processing error, confirm both source files exist, check FFmpeg discovery, and inspect the finished streams. See FFmpeg paths and expected output.
Import or model error: compare your package versions and file locations with the kit records. Follow the model directory guide and troubleshooting guide. Do not upgrade the pinned environment blindly.
Missing safetensors warning: this pinned VAE setup uses verified .bin weights. The warning occurred during the successful sample run before the model loaded. Confirm the model-verification record and finished output rather than treating this message alone as a GPU failure.
Out of memory or no face: reduce batch size to 1 and shorten the test; choose a clear, steady face with the mouth visible. If detection fails, inspect the source frames before rerunning. This particular sample does not test fast head movement or multiple faces.
The test uses offline file inference. It does not demonstrate live audio streaming, benchmark real-time performance or promise results on every GPU. Refer to the pinned official source for this version’s implementation. For an image-first interface, see the ComfyUI guide.
For a matched alternative-model test, see MuseTalk vs Wav2Lip: actual inputs and outputs, exact controls, compatibility notes and non-commercial licensing limits. Read the MuseTalk vs Wav2Lip comparison.
3 thoughts on “How to Lip Sync a Video Using MuseTalk (Full Tutorial)”