Try MuseTalk with a face picture and a short speech recording. This page uses banao-tech’s MuseTalk Avatar, hosted on Hugging Face. It is a third-party demo, separate from the official MuseTalk team’s app.
A sample generation started, but we did not wait for a finished video. The official team’s separate hosted demo showed a startup error.
Open the playground
Open the demo in its own tab if the box below is blank. You can also check the provider’s Hugging Face page. Files uploaded here are sent to the demo provider.
How to try the hosted demo?
The screenshots below show the banao-tech app. They illustrate the controls; they are not proof that today’s test produced a video.
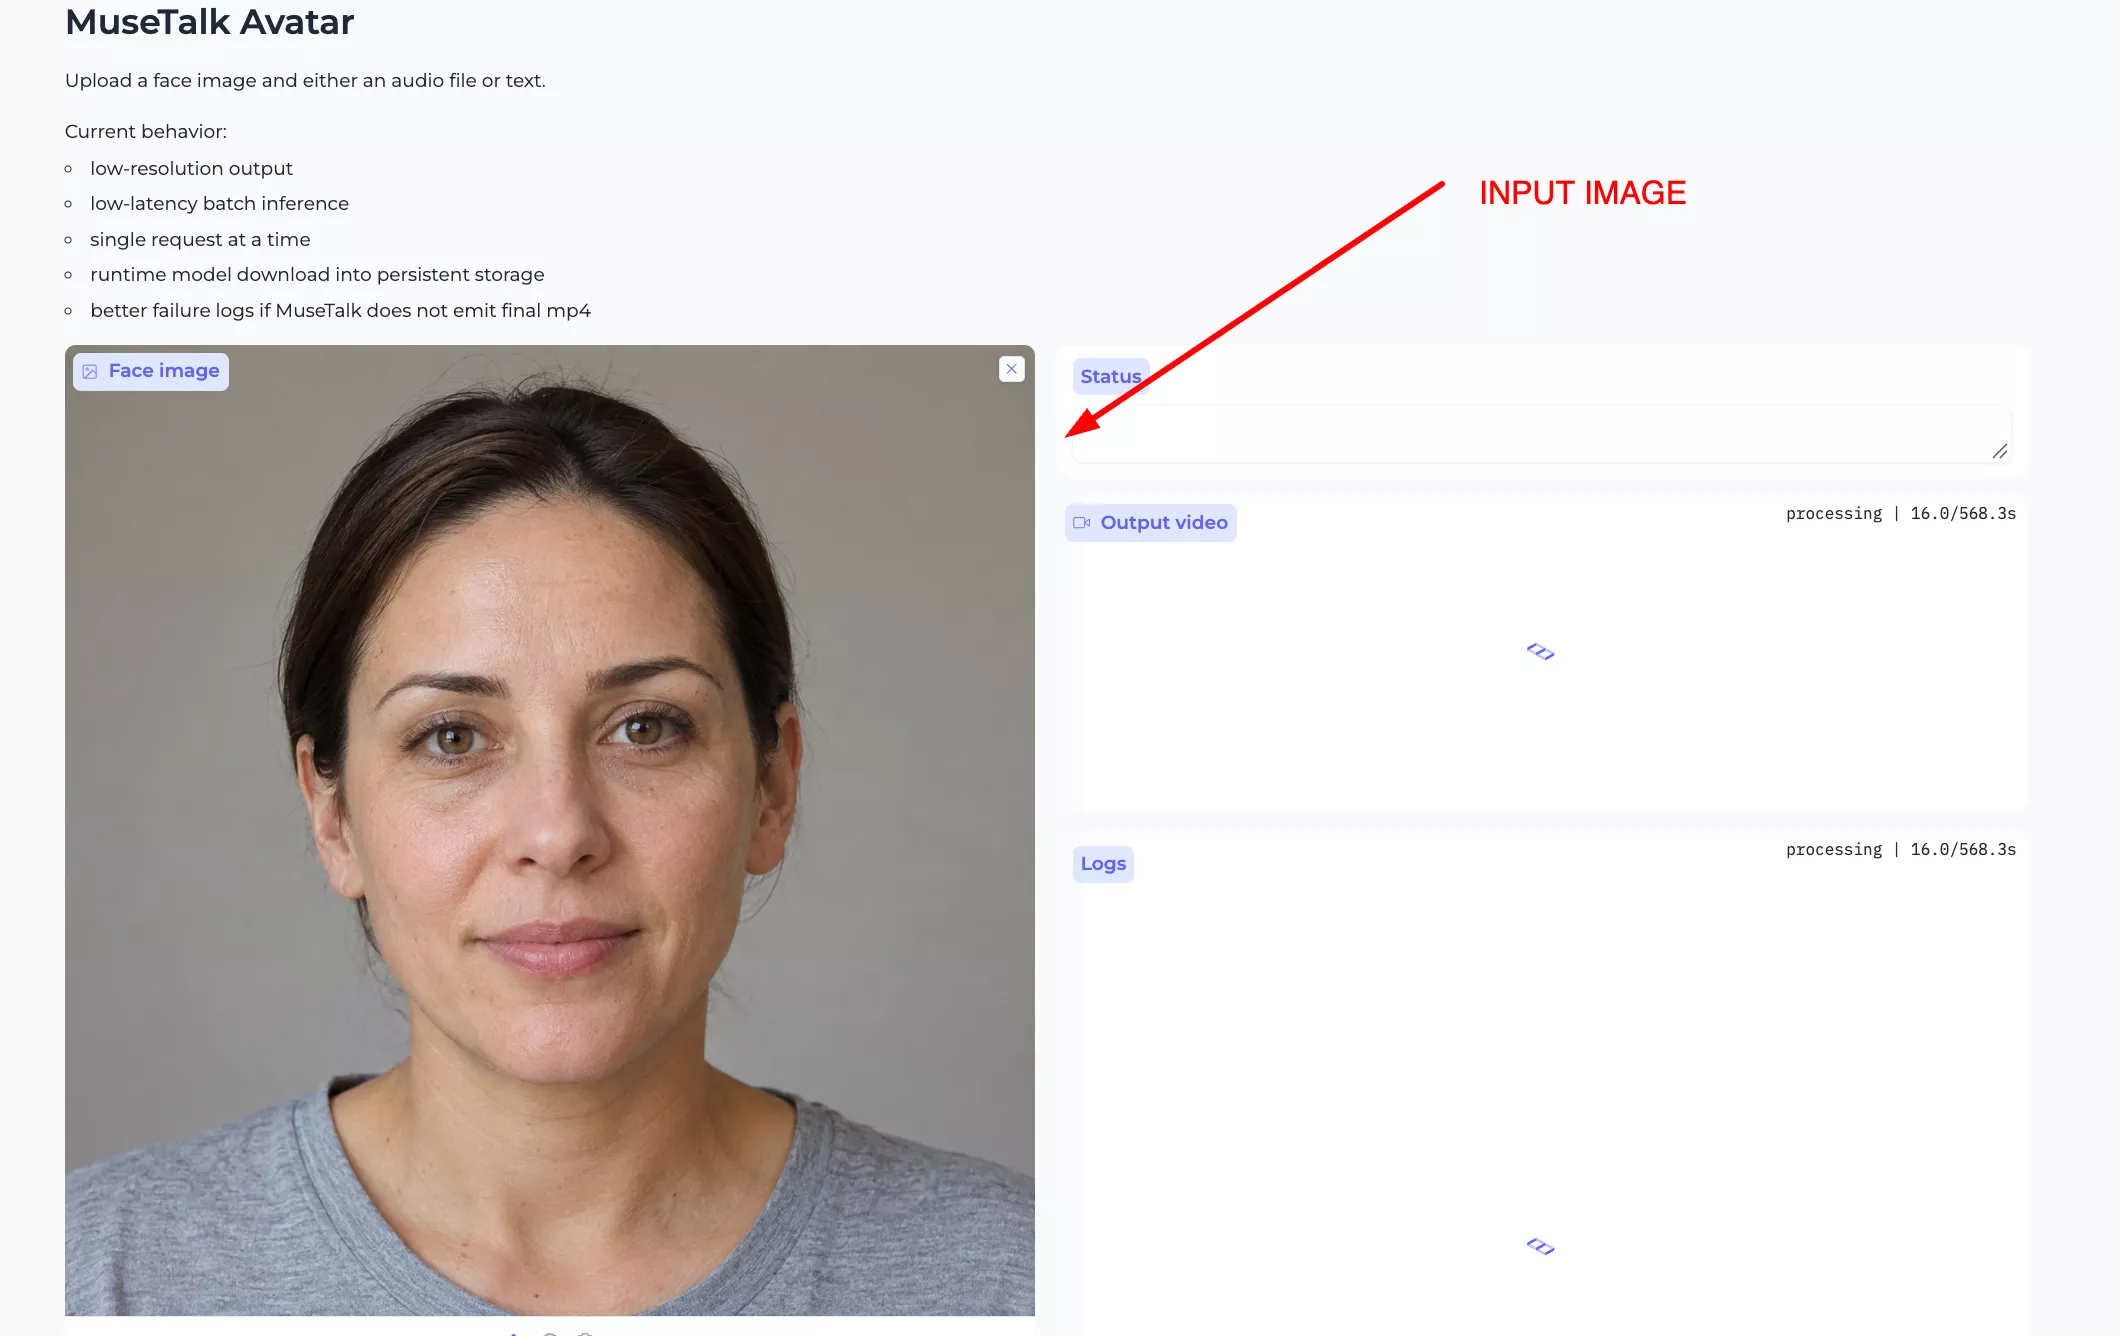
1. Add a face image
Choose Face image and upload one clear portrait. Keep the face facing forward and the mouth visible.
Use a picture you have permission to use.
2. Add speech
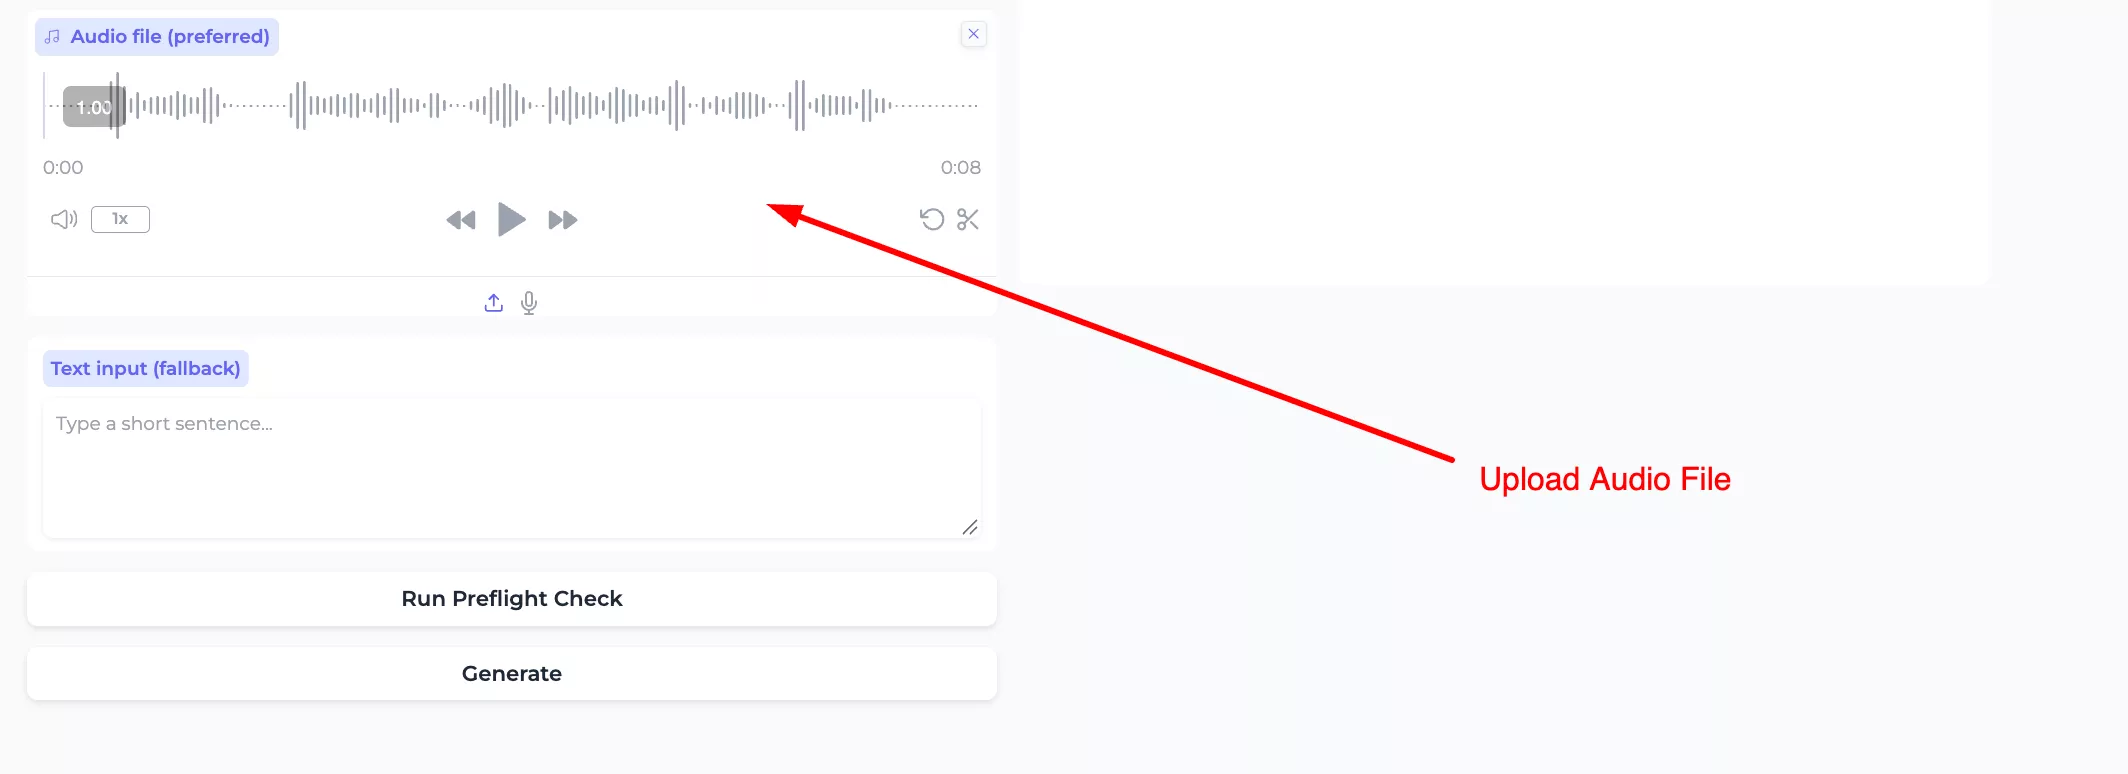
Upload a short recording under Audio file (preferred). Listen to it before continuing.
For a first try, use about five seconds of one person speaking clearly, without music.
Alternatively, leave the audio box empty and enter Hello. This is a short MuseTalk test. in Text input (fallback). This is an example to try, not a text-to-speech result verified in our test.
3. Check that the demo is ready
Click Run Preflight Check. This means “check the setup.” Read Status and Logs, the box containing setup messages.
A pass checks the program and required files; it does not check your face picture or guarantee a finished video.
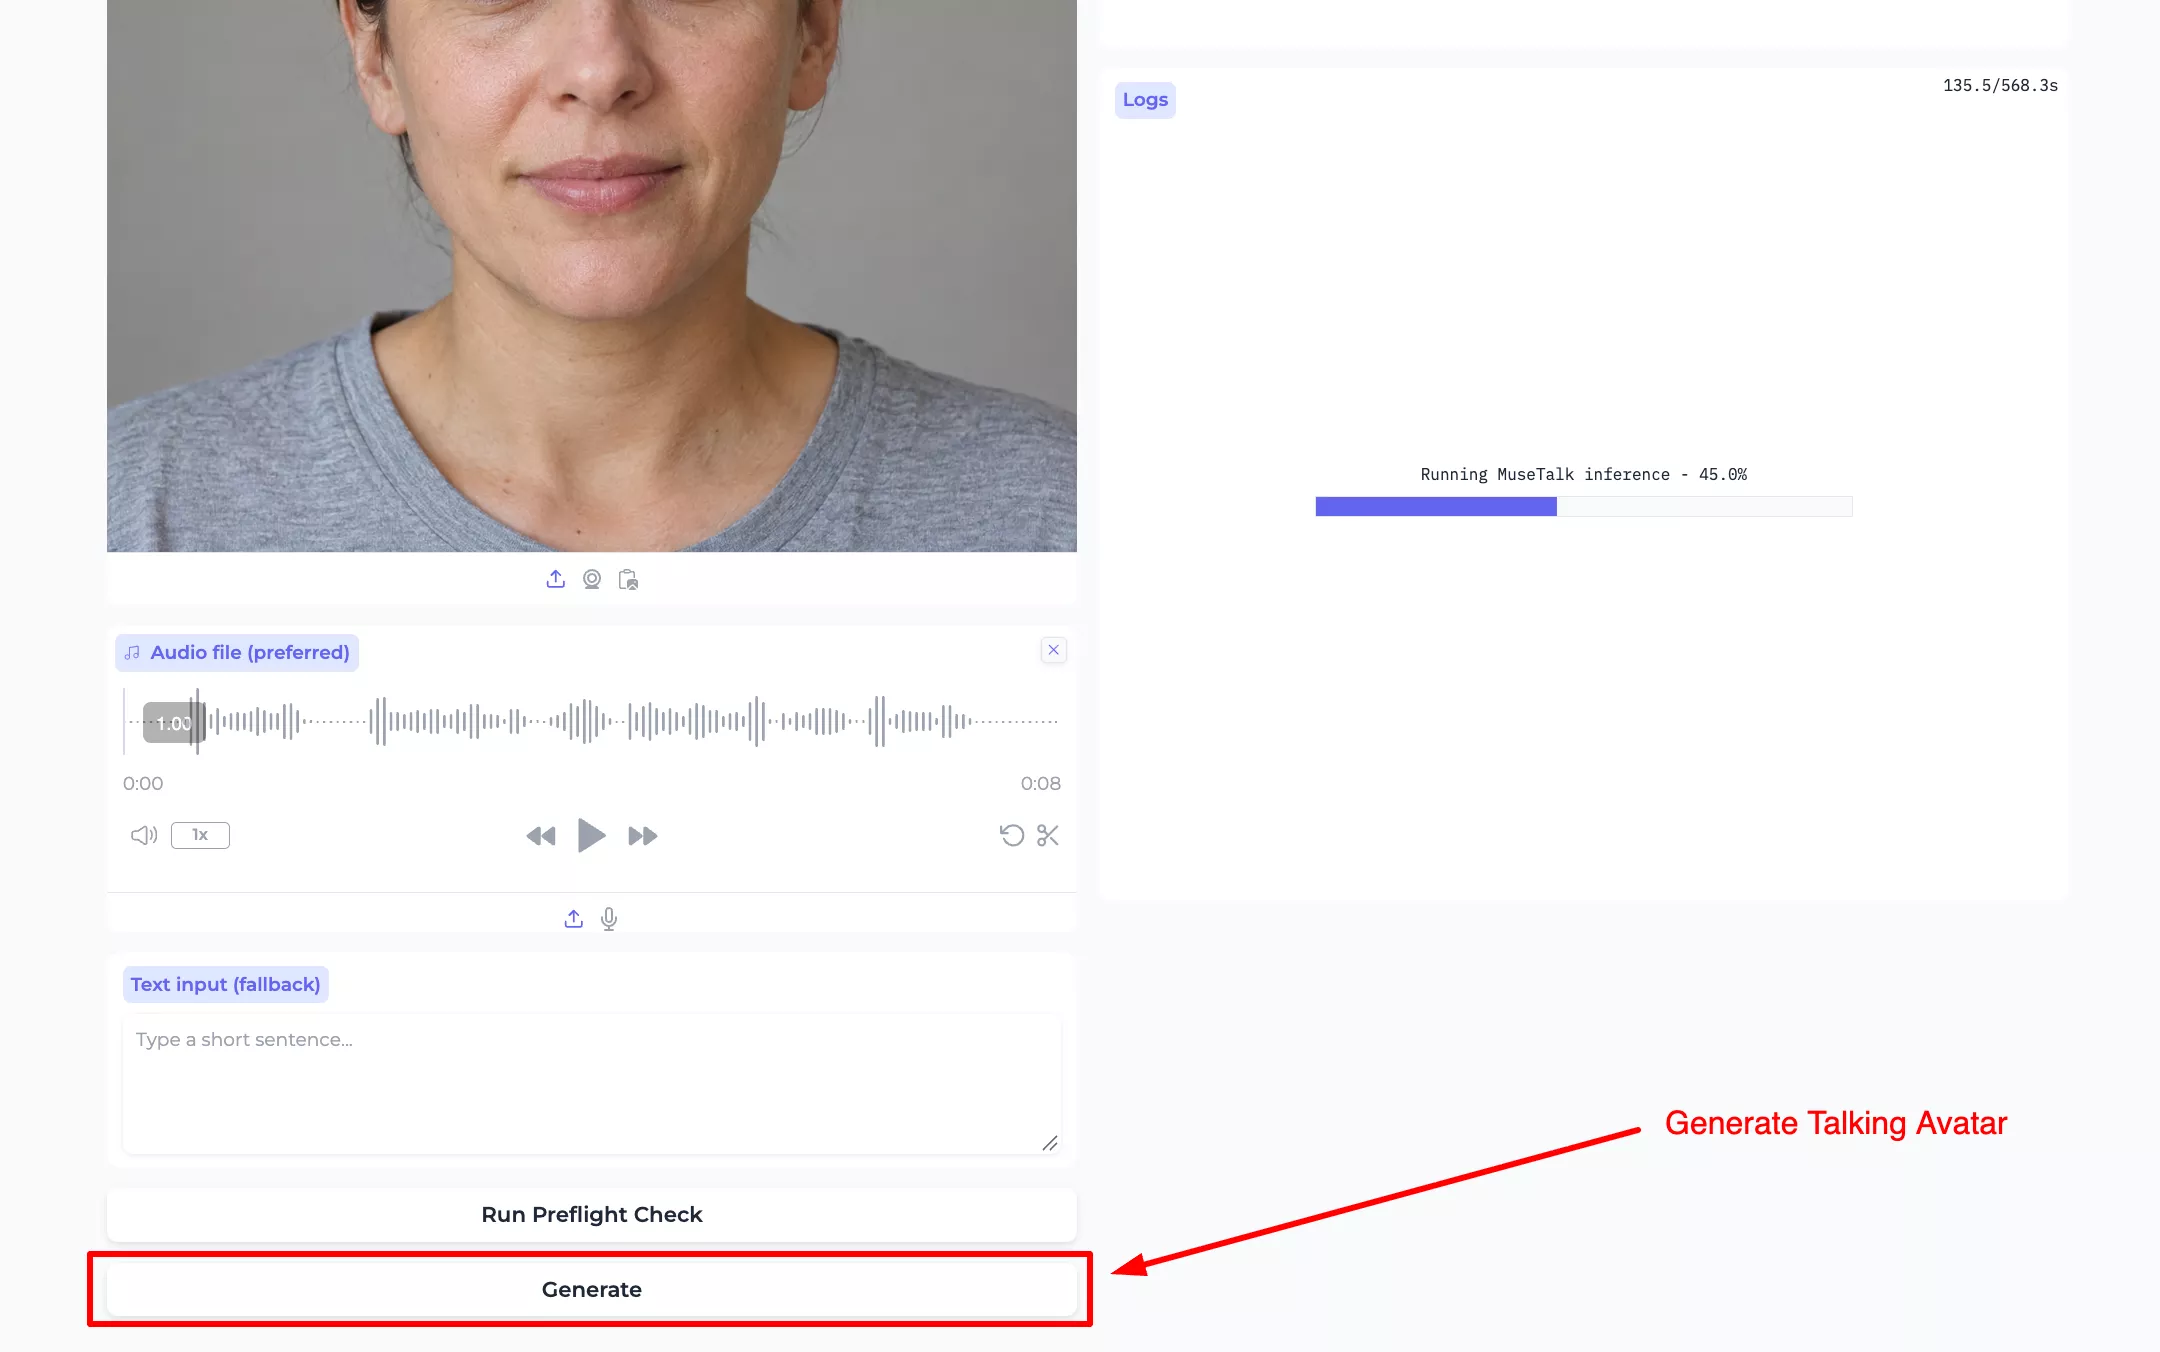
4. Click Generate once
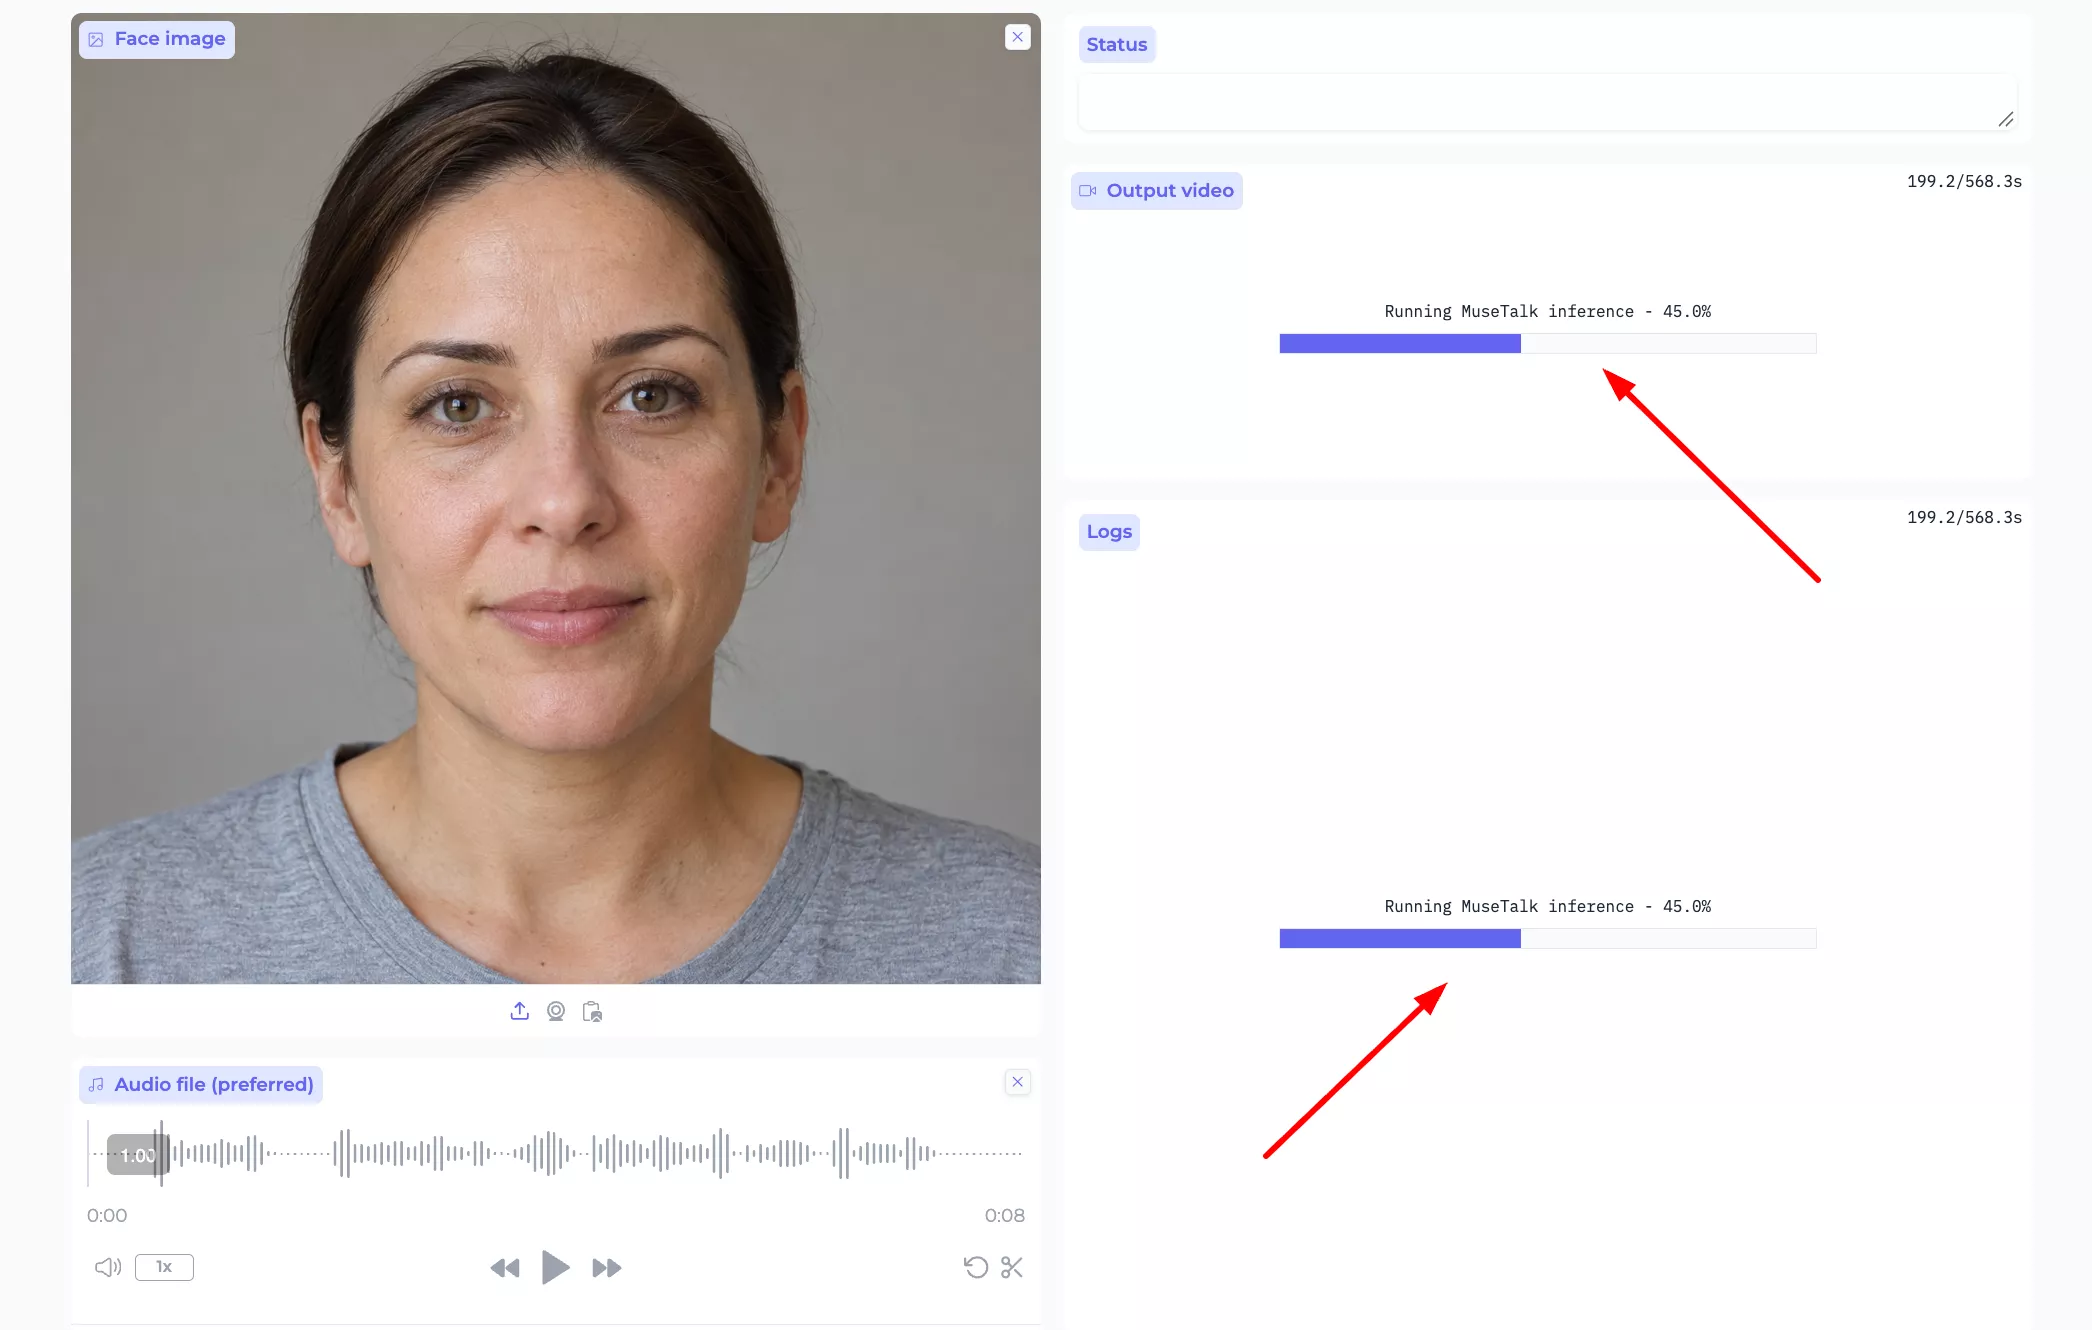
Wait for the request to finish. A message saying Running MuseTalk inference means the app is making the video.
It is still working; a progress bar is not a completed result.
5. Check the finished clip
If a video appears under Output video, play it with sound. Check that it shows your chosen face, uses your audio, and moves the mouth in time with the speech.
Download it only after checking it. If an error appears or there is no playable clip, the test has not passed.
Limits of this hosted demo
- Audio: the app keeps the first 20 seconds. Use a shorter recording if you want the whole sentence included.
- Text: up to 300 characters. The text-to-speech option is set to English. Uploaded audio takes priority if both are supplied.
- Picture: this app accepts a still image. It does not have a source-video upload control.
- Finished video: the published settings target a height of 360 pixels and 15 frames per second. These are the provider’s settings, not a quality measurement from our test.
- Waiting: the app processes one generation at a time. No fixed completion time is promised.
- File size: we did not verify a maximum upload size. A five-second speech recording and one clear portrait are sensible starting inputs.
Which MuseTalk link should you use?
- banao-tech’s hosted demo: the third-party app used by this playground. It accepts a face image and speech audio, or a short line of English text.
- The official team’s hosted demo: a separate Hugging Face page. On 29 September 2026, it showed a startup error for missing model files. We could not test generation there.
- The official MuseTalk project: the program and setup instructions for running MuseTalk on your own computer. Its browser controls differ from this playground.
- MuseTalk model downloads: files needed by the program. This page is a download library, not an upload-and-generate demo.
If the demo does not work
Open the direct demo link above if the embedded box is blank. If the app shows an error, keep the message and try again later. Repeatedly clicking Generate will not repair a provider-side failure.
For a separate route, follow the local installation guide or Windows guide. This requires setup and suitable hardware; it is not an instant online replacement. The Gradio guide explains the local controls.
Use your own media for ordinary projects. The official project limits its supplied test media to non-commercial research.
We used those files only for this check. We did not verify the hosted provider’s file-deletion or retention policy.